
Last updated November 16, 2026
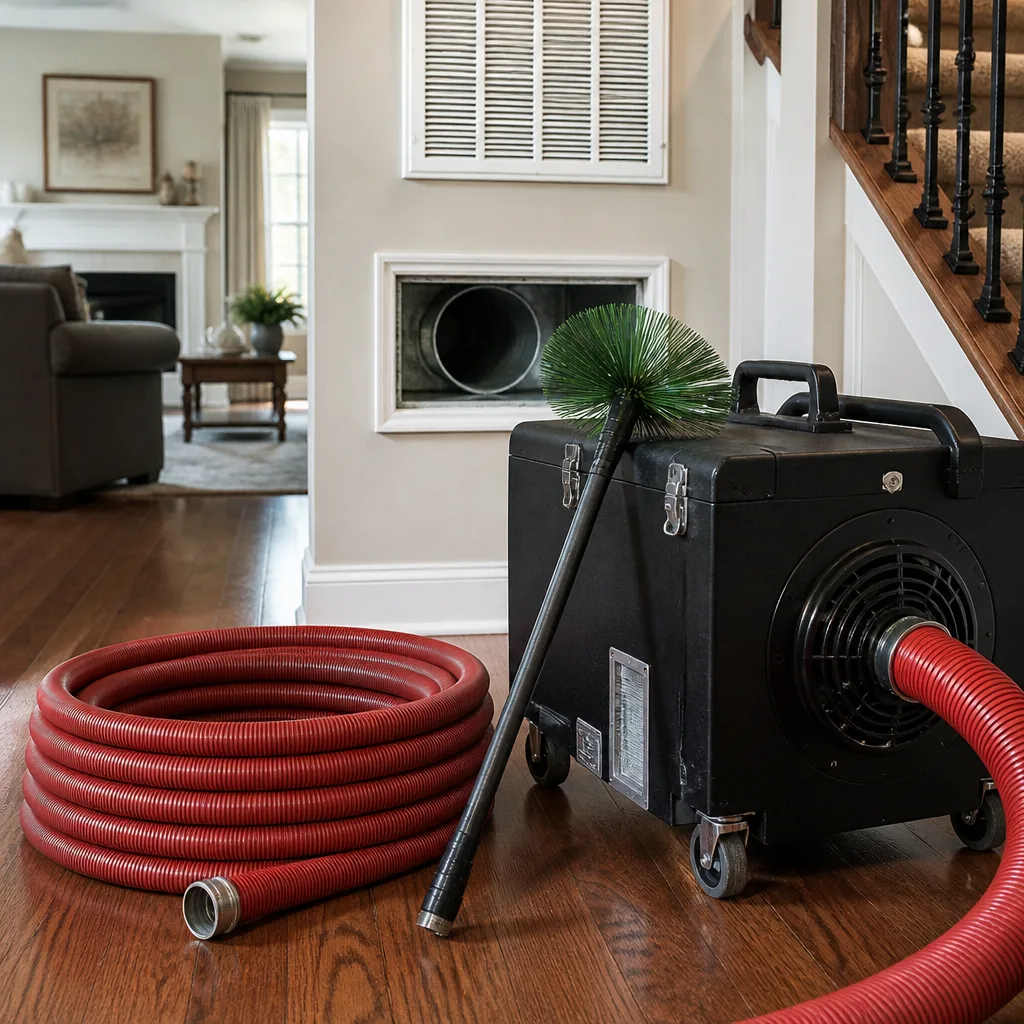 Whole-home duct cleaning
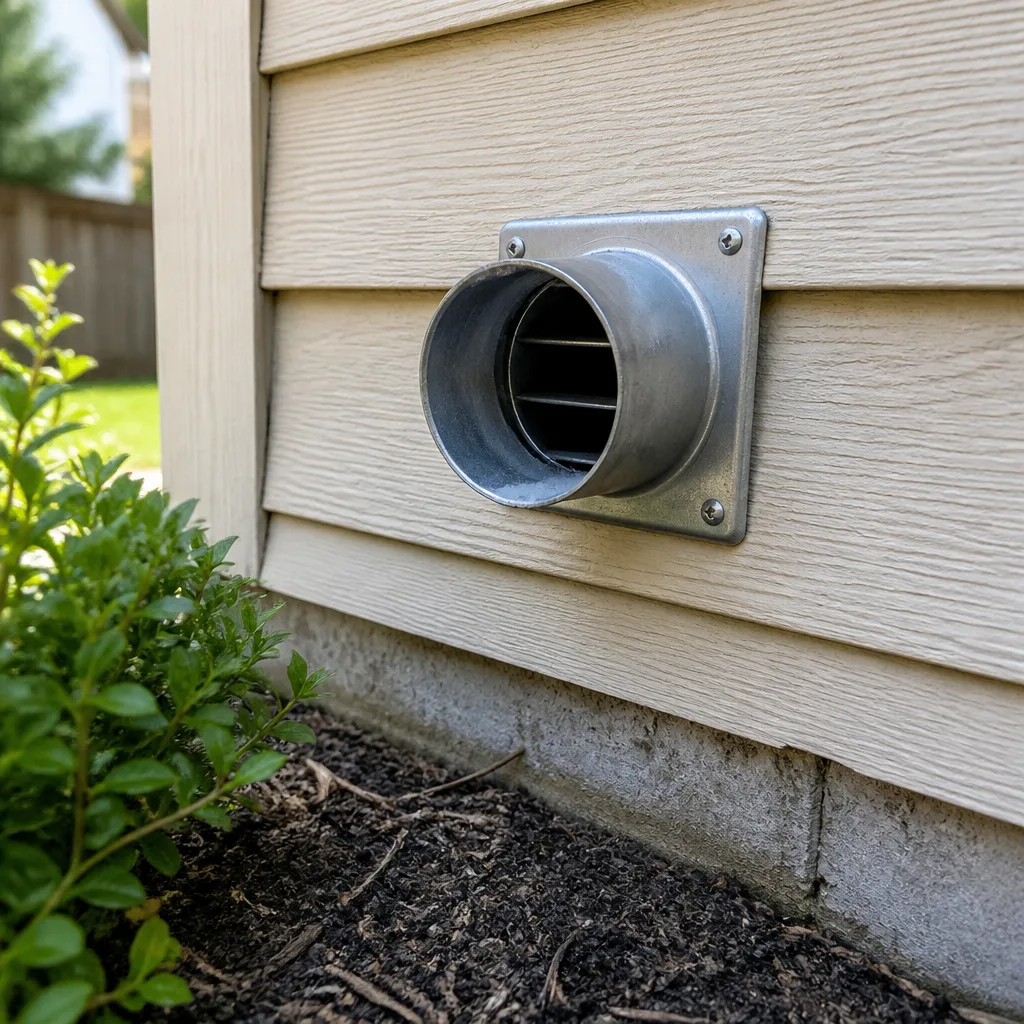 Dryer vent cleaning
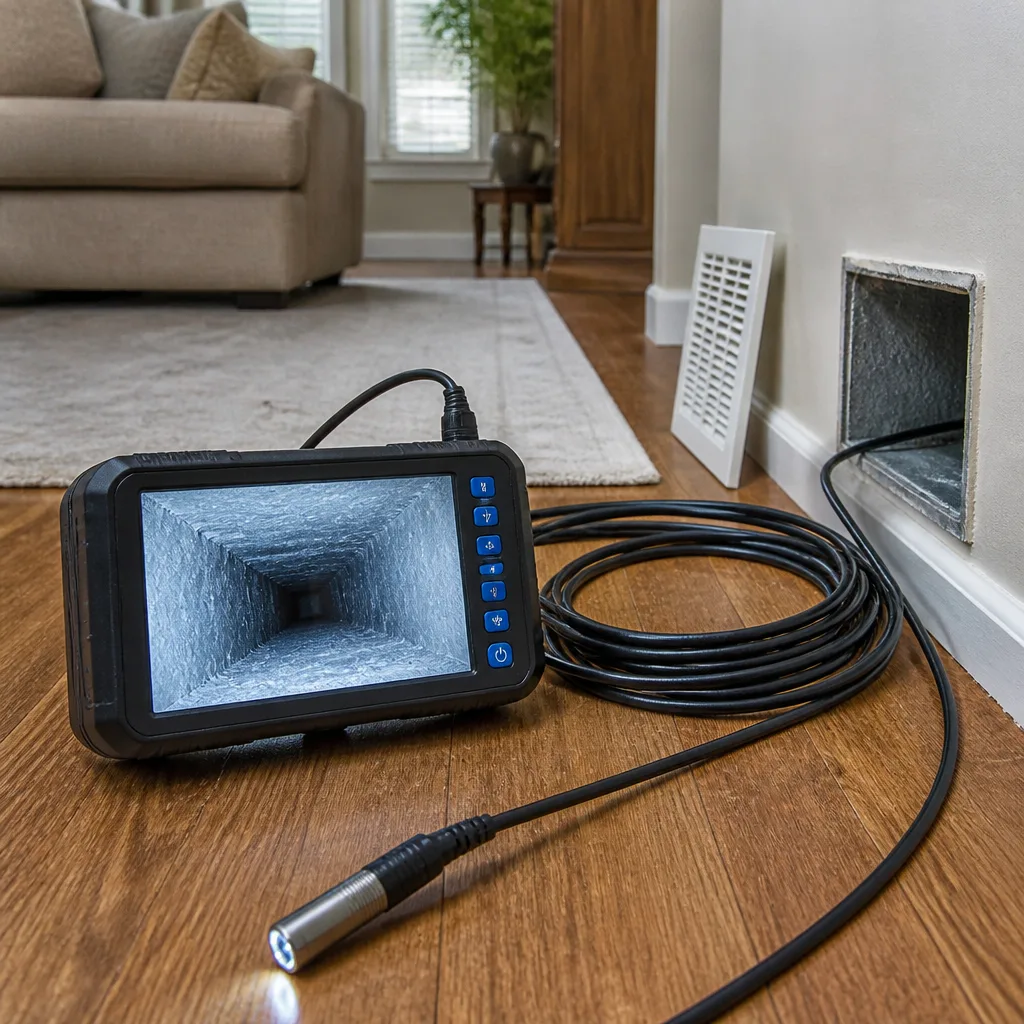 Camera inspection
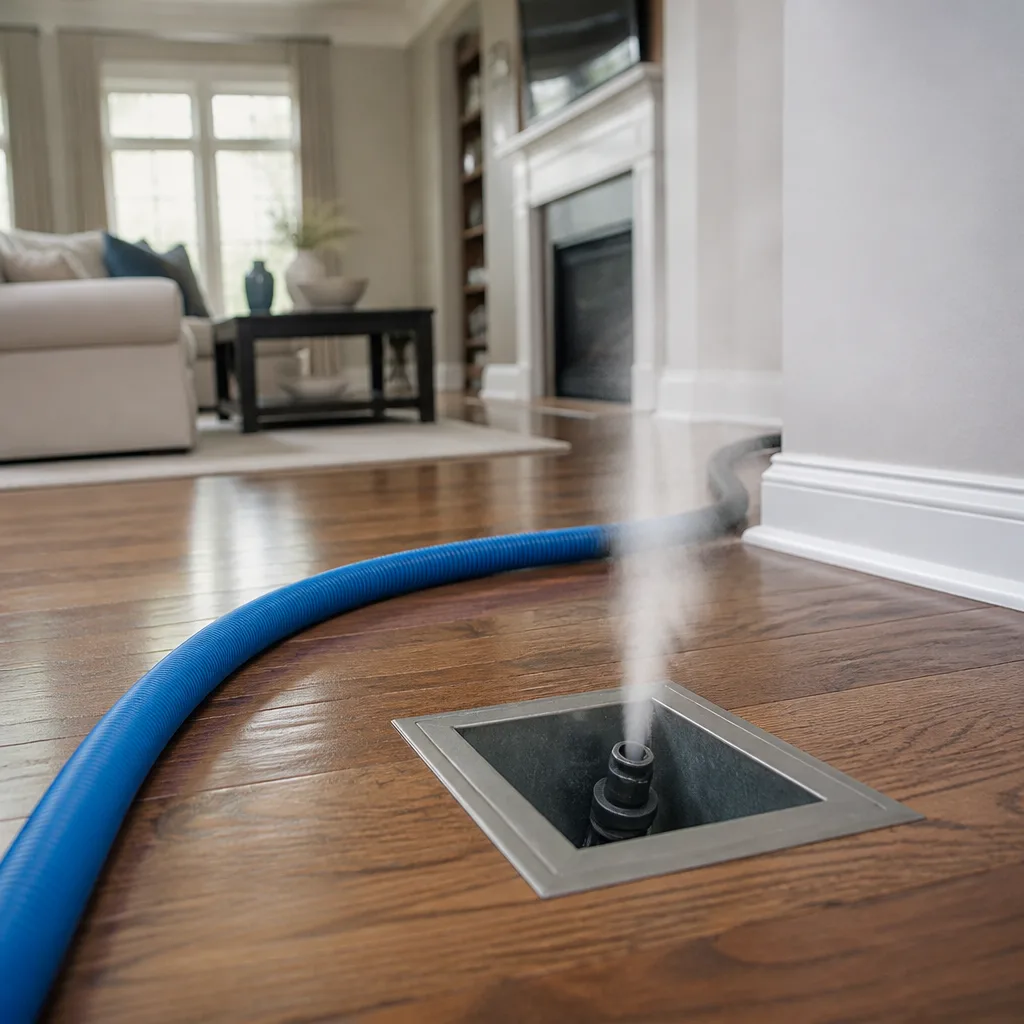 Sanitizing & deodorizing
Whole-system duct and dryer vent check with before-and-after photos - you see exactly what came out of your vents
That "$99 whole-house special" is a bait ad - the real number appears once they are in your hallway, or the "clean" is a shop-vac at the register. We photograph the inside of your ducts before and after instead.
Air Duct Cleaning Maintenance Checklist for Paterson Homeowners
Changing your filter on schedule feels responsible. But if your filter rack has an air bypass gap, and a lot of older furnace installations around Paterson have exactly that, you’re filtering maybe 60% of the return air and pushing the rest unfiltered straight into the duct system. The filter looks clean while the ducts collect the dust it never caught. This guide is built around what actually fails between professional cleanings: the bypass gaps, the register debris signatures, the dryer vent nobody checks, and the seasonal patterns that shorten or stretch a cleaning interval in Paterson’s housing stock. You’ll get a checklist you can run yourself, plus clear signals for when to stop checking and call.
Quick Answer
A practical air duct maintenance checklist for a Paterson homeowner covers four things: seal the filter rack so return air actually passes through the filter, inspect every supply and return register monthly for the debris signature that tells you what’s failing, keep a photo log of duct interiors at key access points, and treat the dryer vent as a separate annual safety inspection. Professional duct cleaning usually lands every 3 to 5 years for a typical home, but renovation dust, pets, allergies, or a duct modification should shorten that. Anything that involves disconnected ductwork, heavy contamination, or combustion byproducts is a repair job, not a cleaning job.
Styles & brands we work with
- Whole-home duct cleaning
- Dryer vent cleaning
- Camera inspection
- Sanitizing & deodorizing
Table of Contents
- Step 1: Fix the Filter Rack Before You Buy Another Filter
- Step 2: Read Your Registers for Debris Signatures
- Step 3: Choose a MERV Rating That Fits Paterson’s Air and Your Blower
- Step 4: The Annual Dryer Vent Inspection Most Checklists Skip
- Step 5: Build a Photo Log of Your Duct Condition
- Step 6: When to Shorten Your Cleaning Interval
- Step 7: Time the Work to Paterson’s Seasons
- Step 8: Know the Difference Between Cleaning and Repair
Step 1: Fix the Filter Rack Before You Buy Another Filter
A filter only filters the air that goes through it. That sounds obvious until you look at how many older furnace cabinets in Paterson’s early-1900s housing stock hold their filters: a slot cut into the side of the return plenum, a sheet metal cover, and a filter that sits in there with a finger’s width of gap on two or three sides. Every cubic foot of air that slips around the edges instead of through the media carries its dust into the supply trunk and drops it on the first run of duct it hits.
You can check this yourself in about five minutes. Pull the filter, wipe the inside of the rack with a white paper towel, then run the system and hold a thin strip of tissue near each edge of the opening. If the tissue flutters against the gap, you have bypass. Real fixes include:
- A filter frame with a gasketed lip. These clamp the filter media against the rack edge and close the gap around all four sides.
- A properly sized filter. A filter that’s a quarter inch undersized lets everything around it slip by. Measure the rack opening, not an old filter, and buy to that dimension.
- Sealing the cabinet seams. Mastic or foil tape on the duct joints around the filter slot closes return-side leaks that pull attic or basement air into the system.
- A media cabinet upgrade on the return plenum. On a system where the slot was clearly an afterthought, a proper media cabinet holds a deeper filter with a gasketed seal and gives you a real MERV 11 to 13 option without the airflow penalty.
We see bypass in a large share of the older homes we work in, and it’s the single cheapest fix with the biggest effect on how fast your ducts collect dust. When we do air duct cleaning, we pull the filter and photograph the rack too, because cleaning a system behind a leaking rack just refills it faster.
Step 2: Read Your Registers for Debris Signatures
Your registers are the diagnostic readout on the whole system. The color and texture of what collects on the vanes and the grill tells you which problem you have, and it does it long before a professional cleaning is due. Look at two or three supply registers and your largest return, every month or so, with a flashlight. Here’s what the signatures mean:
- Gray, fuzzy lint clinging to the vanes and grill. This is the filter bypass signature. It’s the same fiber and dust load your filter should have caught, arriving past the edges of the filter instead of through the media.
- A distinct black soot ring or dark shadow at the register edge. That points to combustion byproducts in the air stream. On a gas furnace or boiler this is a safety matter, not a cleaning schedule question. Shut the fuel off if you smell anything and call a licensed heating technician before anything else.
- An oily film or a sticky gray sheen on the vanes. That’s usually duct leakage near the air handler. Return-side leaks pull greasy basement or crawlspace air into the duct system, and every register downstream carries the residue.
- Fine drywall or masonry dust, white to pale gray. Recent renovation. Dust load here is 10 to 50 times normal for weeks after a project and doesn’t fully settle out of a duct run for months.
- Pet hair woven into the lint. Pets shed a fiber load filter media struggles with. Your interval needs to come down and your filter needs changing more often.
- Musty smell at one register and not others. Localized moisture. Could be a disconnected run behind a wall, or a run passing through a damp basement or crawlspace in a Paterson house.
Any of these on their own is a hint. Two of them together, or the same signature on several registers, means the duct system is telling you something the checklist calendar can’t.
Step 3: Choose a MERV Rating That Fits Paterson’s Air and Your Blower
For most Paterson homes, MERV 11 to 13 is the practical ceiling for a residential system without an airflow problem. Below that range you’re not filtering fine particulate effectively. Above it, the pressure drop across the filter starts to strain the blower and starve the system of airflow, which costs you comfort and eventually costs you a motor. The trick isn’t going as high as possible. It’s matching the media to the system.
Paterson sits in a dense urban fabric. Traffic on the interstates and arterial roads puts fine diesel and brake-wear particulate into the air, and the older housing stock means a lot of that load arrives as infiltration rather than through a tight building envelope. Higher baseline particulate doesn’t mean you jump to MERV 16 filters. It means you take filtration seriously at the level your blower can handle and you change it on schedule.
How to pick the right filter:
- Know your system’s limit. A system with an undersized return and a marginal plenum is going to lose airflow at MERV 13 or higher. If you noticed the house heating or cooling slower after your last filter change, go down a step.
- Change by pressure, not by calendar. Most filter media should be replaced when visible dust has built up on the intake face or, if you have a static pressure gauge, when the drop across the filter rises. In Paterson’s particulate load, a 1-inch filter can load up in a few weeks during pollen season or after nearby construction.
- Go deeper before you go higher. A 4- or 5-inch media filter at MERV 11 gives you better particulate capture with less pressure drop than a 1-inch filter at MERV 13. Depth is the cheaper airflow win.
- Match to the room and the occupant. A household with allergy-sensitive residents or a child with asthma benefits from the deepest filter the system tolerates. A household with pets benefits more from an interval change than a MERV bump.
If your system has a media cabinet sized for a Honeywell or Aprilaire filter, stick with the media that cabinet was designed around. Aftermarket throwaway filters sized for those cabinets often don’t have the frame rigidity to hold their shape under airflow, and a filter that sags creates bypass in the media itself. Our technicians have up to 11 years of experience matching filtration to the actual blower capacity in Paterson homes.
Step 4: The Annual Dryer Vent Inspection Most Checklists Skip
Most air duct maintenance checklists never mention the dryer vent. That’s a problem, because the dryer vent is the one duct in your house that’s a fire concern rather than an air quality concern, and it’s subjected to a different load: lint, moisture, and heat, every single cycle. Annual inspection of the dryer vent is the minimum. Twice a year if you do heavy laundry loads.
What an annual inspection actually involves:
- Unplug and pull the dryer out just far enough to reach the exhaust connection at the back.
- Disconnect the vent from the dryer outlet. Look inside the flexible transition duct. If it’s full of lint matted into a felt pad, it’s overdue.
- Reach into the wall termination with a vacuum hose. Lint builds up at elbows and behind the flap.
- Check the exterior termination on the outside of the house. The flap should open freely and close on its own. Lint can hold the flap open, and that lets in water, insects, and birds. If you have a birds’ nest built into the termination or the wall cavity behind it, don’t just vacuum it out. The nest material and feather dust need a proper removal, and the vent should be cleaned from end to end afterward.
- Check the vent run for crushed or disconnected sections. Flexible foil duct that runs through a wall can crush behind the dryer, and every bend adds resistance. Rigid metal ducting is the better install and worth upgrading if you’re opening the wall anyway.
- Time your laundry cycle. If a load that used to finish in 45 minutes takes 70, airflow is restricted.
This is why we treat dryer vent cleaning as its own service rather than an add-on. The equipment, the containment, and the safety framing are different from dust cleaning. When we find a nest or a heavy lint pad during a duct job, the dryer vent gets its own written scope and its own cleaning on the same visit.
If you ever see scorched lint or a dark ring near the dryer connection, or a vent that smells like burnt fabric after a cycle, stop using the dryer and call us. A vent fire is a real risk and a fast call is the right move.
Step 5: Build a Photo Log of Your Duct Condition
A simple phone camera log at your key access points is the most underused tool in a homeowner’s maintenance kit. It costs nothing, takes ten minutes a couple of times a year, and it does two specific jobs: it tells you objectively whether a duct problem is getting worse, and it gives you evidence if a contractor’s work ever comes into question, or if you need to support a warranty claim. In our experience, homeowners who log their system’s condition get better service from every contractor they talk to.
How to build the log:
- Pick three or four access points. The main supply trunk takeoff near the air handler is the most useful. Your largest return grill, the register furthest from the air handler, and one register on each floor if you have more than one.
- Take the same photo every time. Same angle, same lighting, same distance. Point the flashlight at the same spot. A photo that isn’t repeatable isn’t useful as a comparison.
- Include a scale reference. Set a coin or a ruler in the photo near the duct interior if you can reach it. It makes dust buildup approximate rather than subjective.
- Label and date every photo in the filename. “trunk-supply-2026-03” tells you everything. Keep them in a single album so you can scroll.
- Take the log twice a year. Before heating season and before cooling season are natural points. Add a third any time you do renovation work.
- Photograph the filter rack too. Same angles, same framing. If bypass appears or grows, you’ll see it.
Compare the log entries side by side. You’re looking for the pace of change, not a single dramatic read. A little dust in the trunk after 12 months is normal. A visible gray band moving across the same spot in three months isn’t, and it’s the difference between a routine schedule and a call. Professional equipment like the Rotobrush and Nikro platforms we run lets a technician document duct interiors directly so you can see the before and after of your own system, which is exactly the accountability a photo log protects. It’s also useful for a buyer’s inspection if you’re ever selling a Paterson home, since it shows a maintained system rather than a neglected one.
Step 6: When to Shorten Your Cleaning Interval
The default cleaning interval for a typical residential system is every 3 to 5 years. The word “typical” is doing a lot of work in that sentence. Several conditions shorten the interval, and in Paterson at least one of them tends to apply to most homes. Here’s the list of triggers:
- Renovation dust. Cutting tile, sanding drywall, refinishing floors, or opening a wall for a project: schedule the ducts after the project, not before. Fine construction dust is the single most aggressive duct contaminant a home produces, and it settles throughout the system over weeks.
- Household pets added. The lint load and hair load go up. Cut one year off the interval and change filters more often.
- An allergy diagnosis or a respiratory condition in the home. The filtration and cleaning standard goes up when an occupant’s health is affected. This usually means moving to a deeper media filter and a shorter interval at the same time.
- HVAC modifications. A new air handler, a duct reconfiguration, or a change to the return path shifts the airflow and can move dust into parts of the duct system that were previously quiet. Cleaning after the modification makes sense, and the interval for the first cleaning after the change should be shorter than usual.
- Water intrusion or a basement flood. Wet dust becomes mold-supporting dust. If the basement has taken water, the ducts downstream of it need inspection and probably cleaning.
- New construction nearby. A long project on your block that throws dust into the air means a higher infiltration load into your house. Paterson’s dense lot lines and close-set buildings mean construction dust travels further between properties than a suburban homeowner might expect.
Notice what’s not on this list: the calendar date alone. If none of the above apply to you, stretching a clean to the far end of the range is fine. If two or three of them apply, shorten it hard.
Step 7: Time the Work to Paterson’s Seasons
Paterson runs a full continental four-season cycle: hot humid summers, cool wet autumns, cold winters, and a long pollen season in spring. The duct system runs hardest during the heating and cooling peaks. That shapes when cleaning and repairs make the most sense, and how the housing stock behaves between jobs.
Some seasonal specifics worth knowing:
- Late spring, after the pollen peak. Pollen runs through the ducts as fine yellow-green powder. Cleaning in late spring catches the season’s load and sets the system up for air conditioning season with clean media.
- Early fall, after the heating season starts. The first weeks of heating push the accumulated summer dust into the house. Cleaning right before the heating season starts means you’re not breathing through the accumulated summer load. If the home has an older furnace, this is also the time for a heating technician to look at it.
- Winter is when duct leaks hurt most. Cold attic or crawlspace air drawn through a leaking return hurts the blower and the heat bill.
- Summer is unglamorous but good for duct repair work. You’re not waiting on heat, and a disconnected run is easier to access.
- Rainy stretches matter because the housing stock in Paterson was built in an era when moisture movement through basements and crawlspaces was less managed. If a basement has been damp, inspect the return ducts running through it before the heating season.
The right time of year to clean is the time when the change actually matters: right before heating or cooling begins, not in the middle. We answer 24/7 for scheduling and questions. Fast dispatch from 7am to 7pm, Sunday through Friday, closed Saturday.
Step 8: Know the Difference Between Cleaning and Repair
Cleaning moves dust out of the system. Repair fixes the reason the dust was getting in. If you’re not clear on that line, you can pay for a cleaning every couple of years and still have the same dust problem, because the disconnected run, the leaking seam, or the crushed flex duct is still there.
What counts as repair, not cleaning:
- Disconnected ductwork. A supply run that has come loose at a boot or a takeoff. Cleaning sends air pressure past the gap and into the wall cavity or floor cavity. Repair reconnects and seals it.
- Leaking seams and joints. Loose foil tape, failed mastic, and unsealed takeoffs leak a lot of air. Every leak is an unfiltered air intake from the wall, floor, or attic.
- Crushed or collapsed flex duct. Flexible duct bent too tightly or crushed behind a joist chokes airflow to one part of the house. Replacing that section with rigid duct fixes it.
- Sagging or ripped duct board. The interior liner of duct board can degrade and release fiber into the air stream. That’s a repair.
- Rodent or pest damage. Chewed sections, nests in the duct cavity. Cleaning alone doesn’t close the access route the pest used.
- Heavy contamination beyond routine cleaning. Mold growth, sewage backup in a basement, or major water damage requires containment and negative air pressure before anyone cleans. Our Abatement Technologies equipment handles exactly that scenario, and it’s a different job from a routine clean.
We offer air duct repair as a standalone service so a cleaning can be scoped to the parts of the system that need cleaning and a repair can be scoped to the parts that need repairing. A proper assessment tells you which is which, in writing, before anyone starts.
Common Mistakes to Avoid
- Buying another filter before you check the rack. If your filter slot bypasses, a fresh filter is a false sense of security. Seal the rack first, then buy the media.
- Assuming a higher MERV is always better. A MERV 16 filter on a system built for a MERV 8 filter starves the blower. If your system heated slowly after a filter change, you went too high.
- Treating the dryer vent as part of routine duct cleaning. It’s a separate safety inspection and it’s the duct that matters most for fire risk. If your last duct cleaning didn’t include it, schedule the inspection separately.
- Cleaning right before a renovation starts. The dust from the project is going to fill your ducts during the project regardless of what you do beforehand. Clean after, not before.
- Skipping the photo log because it seems like overkill. A ten-minute log twice a year is the cheapest insurance you can give yourself for warranty claims and honest contractor comparisons.
- Treating a register smell as “just dust”. A musty smell at one register and not others is a local moisture or disconnection problem, not a dust problem. It won’t clean out.
- Assuming your house is “too old to fix”. Paterson’s older housing stock often has the worst duct layouts and the biggest improvement potential. Sealing and reconnecting older systems usually pays off more noticeably than a light clean on a newer one.
See the difference
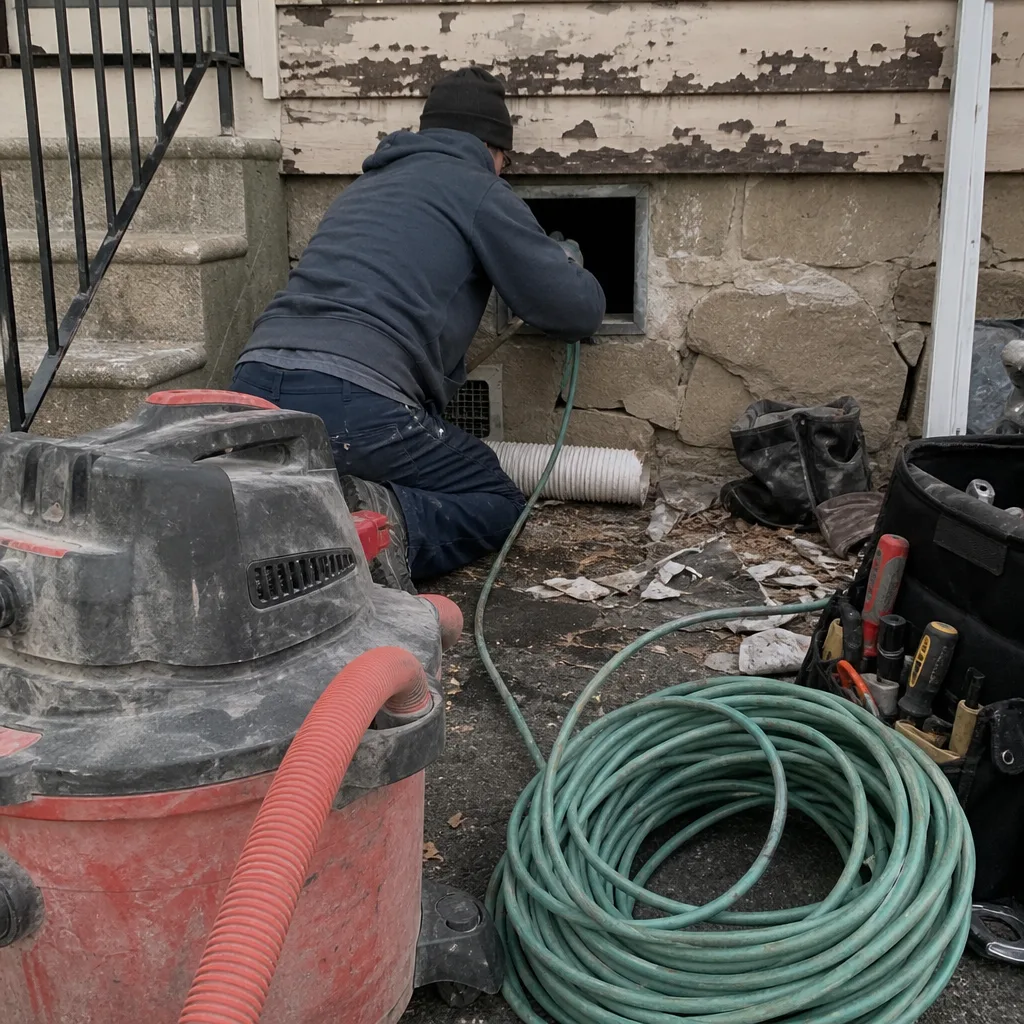 Before
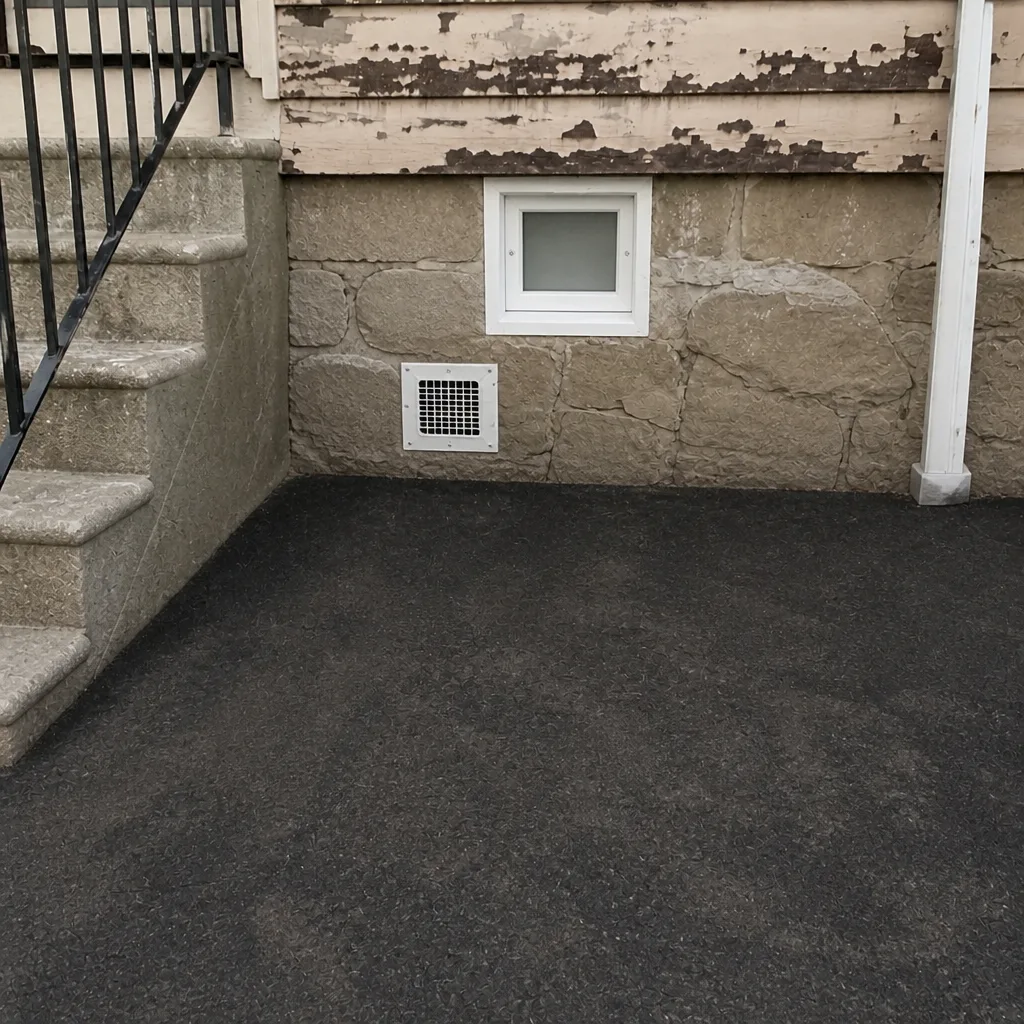 After
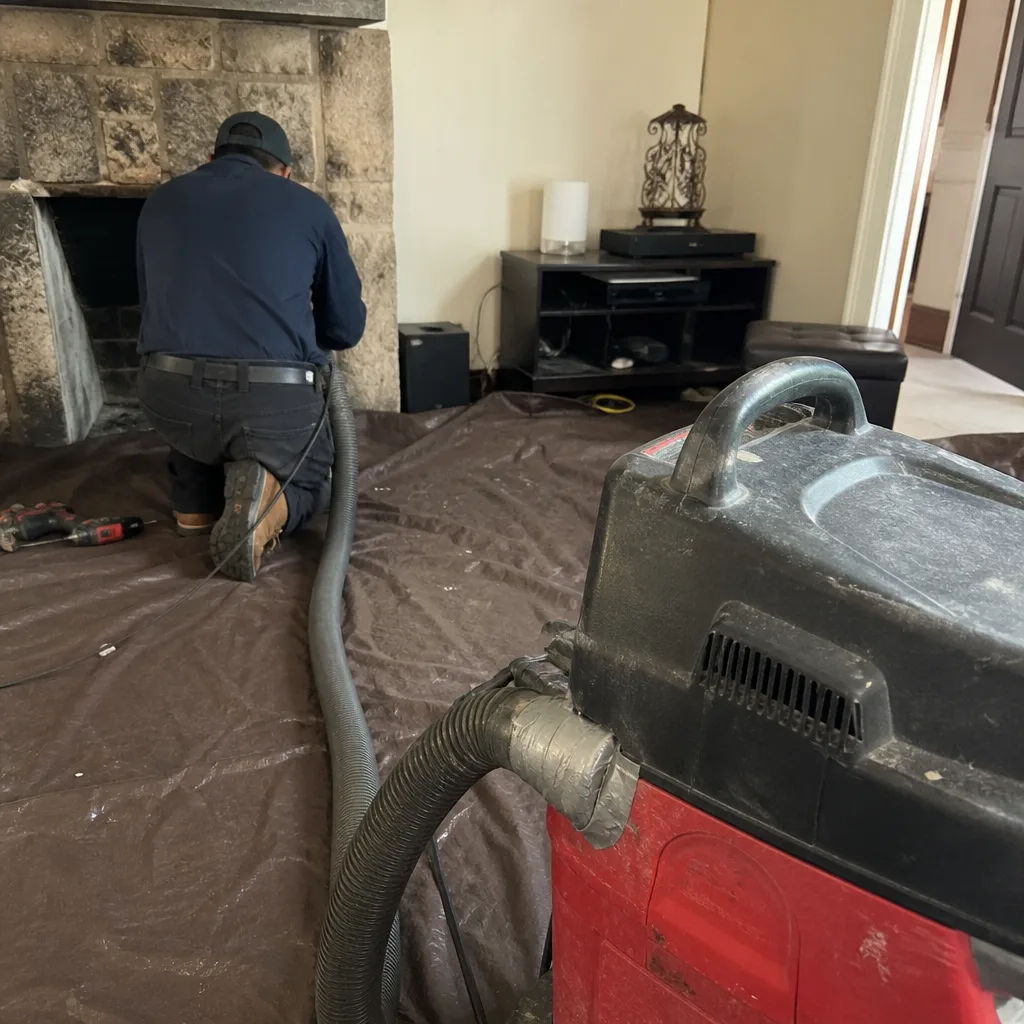 Before
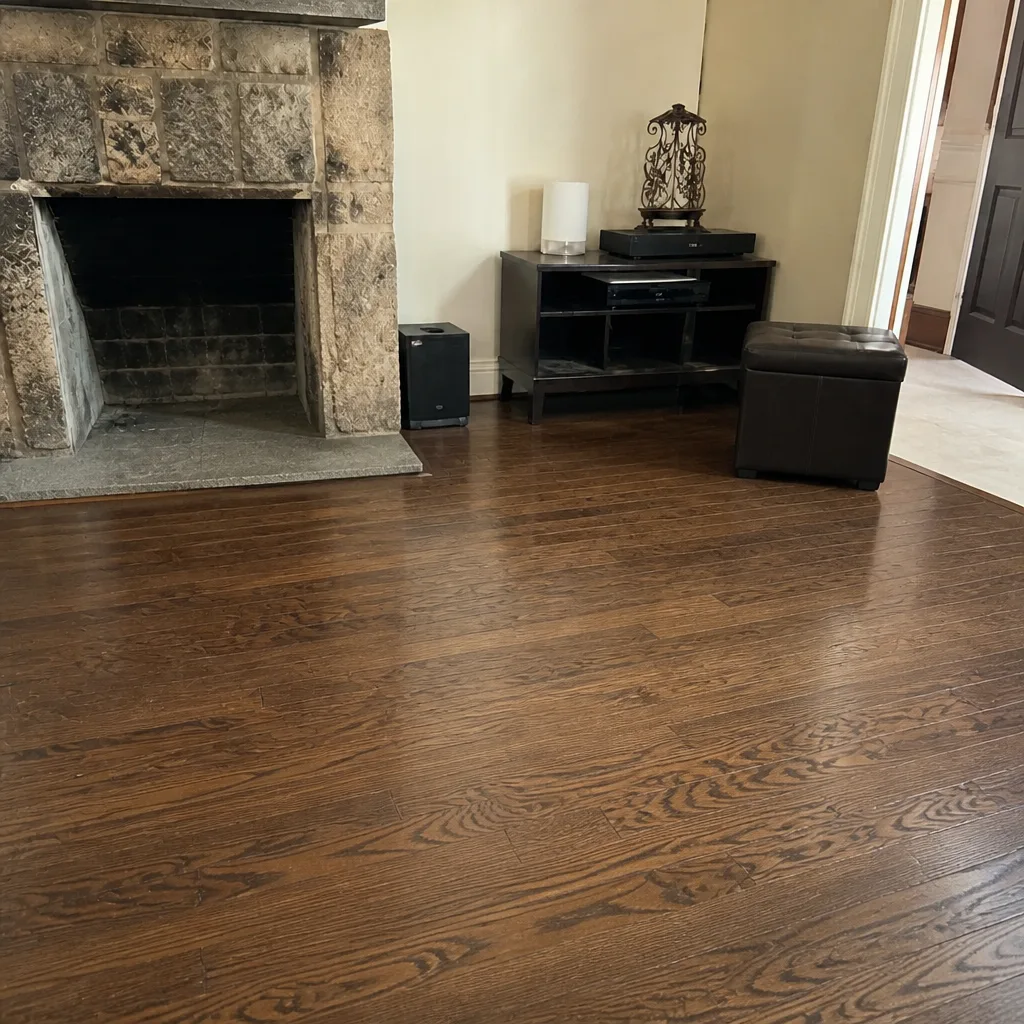 After
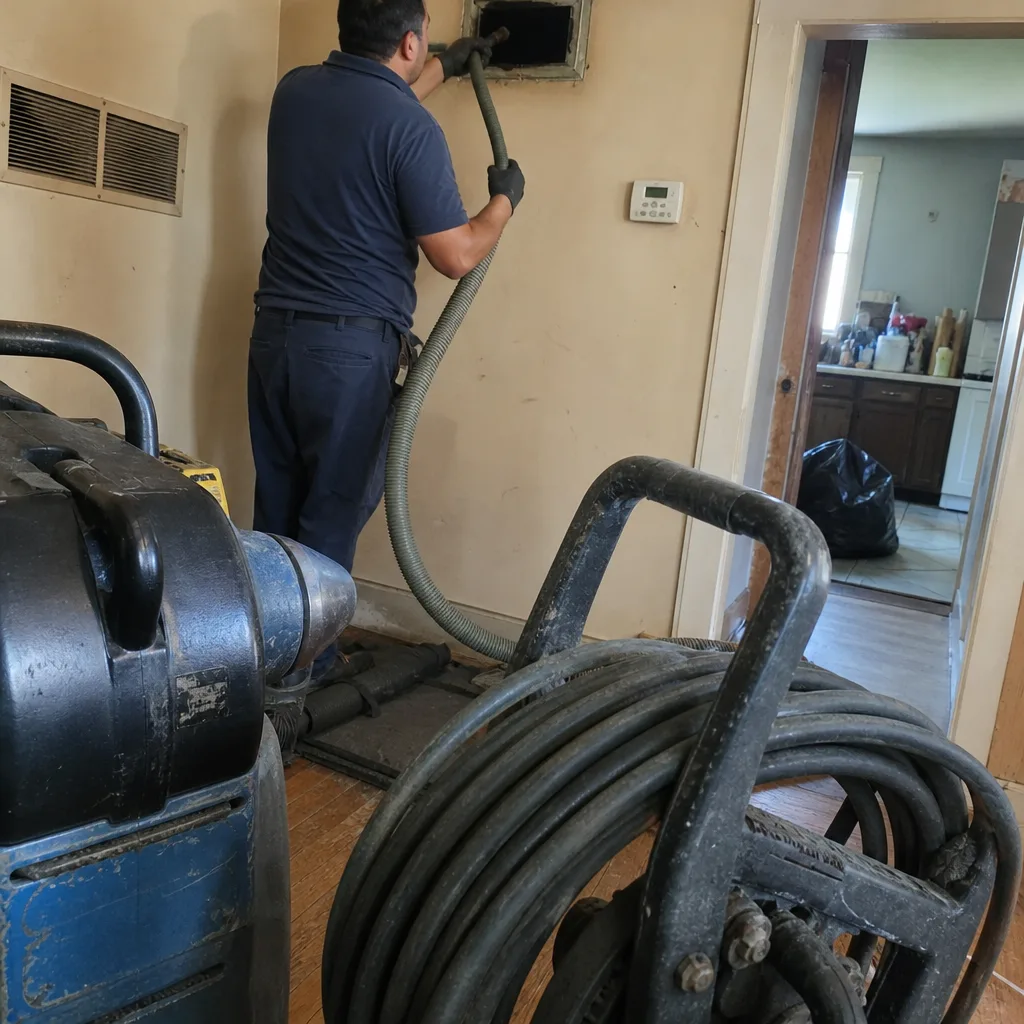 Before
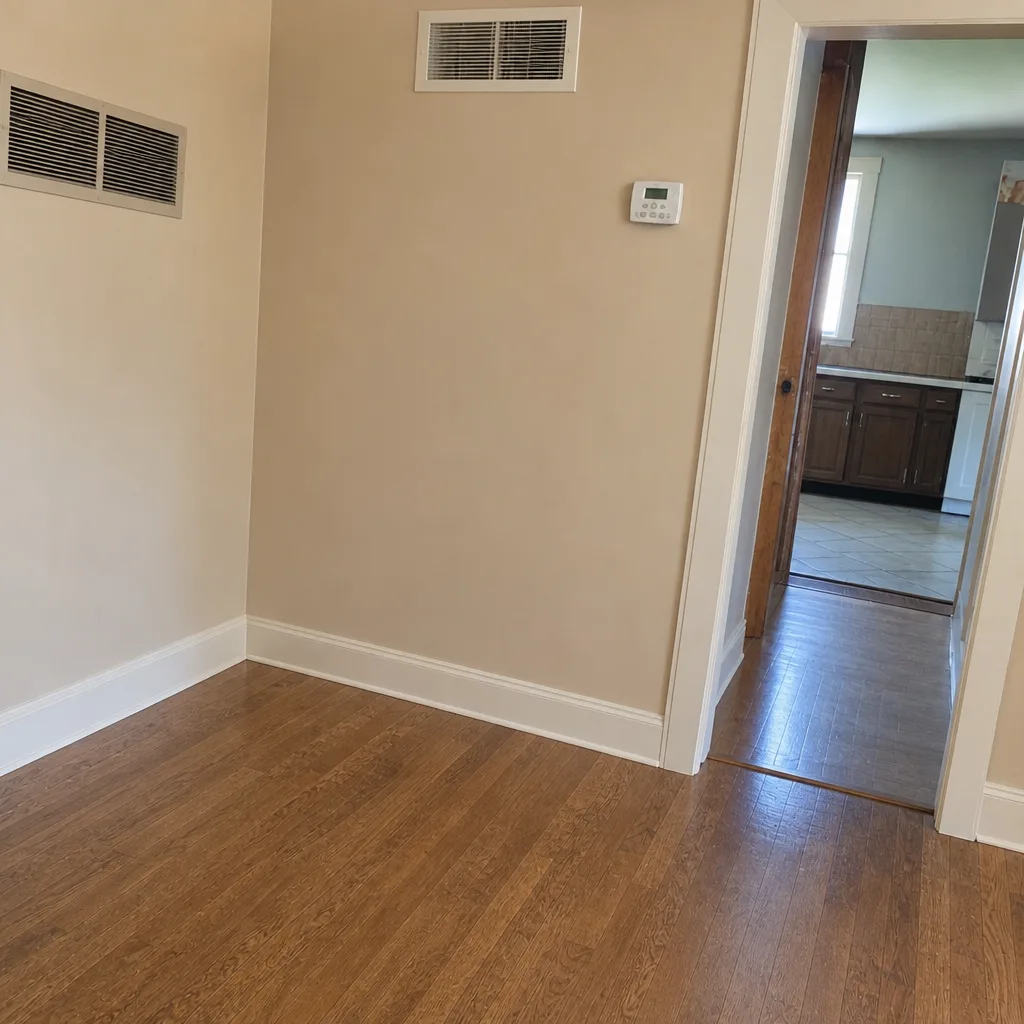 After
When to Call a Professional
Call a professional when the checklist turns up a condition you can’t fix by cleaning and sealing a filter rack. That means disconnected or crushed ducts, black soot at a register, an oily residue on multiple supply registers, a musty smell that persists after a cleaning, or a dryer vent that a home inspection flagged. If a member of the household has developed an allergy and the dust problem is worse than last year, that’s a good moment to have the system assessed too. Routine maintenance between cleanings is a homeowner job. Diagnosis and repair are not.
Duct Cleaning Paterson offers free estimates in Paterson and can scope a clean, a duct repair, or a dryer vent inspection from the same visit. Call (844) 967-3384. We answer 24/7. Fast dispatch from 7am to 7pm, Sunday through Friday, closed Saturday. One flat price per system is agreed in the written estimate before work starts, with before-and-after photos of your own ducts.
Frequently Asked Questions
Every 3 to 5 years for a typical household, but the interval is a starting point, not a rule. If you have pets, allergy concerns, recent renovation, or an older duct system that’s been leaking, shorten it. Frequency should track conditions, not the calendar. Call (844) 967-3384 for a free estimate if you’re not sure where you stand.
Most residential systems land in a range based on the number of registers, the accessibility of the ductwork, and whether repairs are needed. Quotes that come in far below the pack are usually per-vent teaser prices that grow once the technician is on site. We give one flat price per system, agreed in writing before work starts. Call (844) 967-3384 for an exact quote, estimates are free.
Usually because the quote only covers a partial job, or it prices per vent and assumes a small register count. The low number changes once the technician is in your home and the real scope is visible. Ask for a written scope that names what’s covered, whether duct repair is included, and whether the dryer vent is separate. Then ask for before-and-after photos of your own system.
Ask for before-and-after photos from inside your own ducts, taken at the same access points you documented in your photo log. We photograph each system with the Rotobrush or Nikro platform we run, so you see the inside of your ducts rather than a stock image. If a contractor can’t provide this, ask why.
We handle air duct repair as its own service. Disconnected runs, leaking seams, crushed flex duct, and sagging duct board are repaired as a scoped job, separate from cleaning. That means a cleaning can be sized to what actually needs cleaning, and a repair can be scoped to what actually needs repairing. Call (844) 967-3384.
For most homes, MERV 11 to 13 is the practical ceiling without airflow penalty. That said, if your system is older or the return is undersized, you may need to stay at MERV 11 even with a deeper media cabinet. If a filter change made your system feel slower, you’ve gone too high. If you have a Honeywell or Aprilaire media cabinet, stick with the media the cabinet was designed around.
The Bottom Line
The gap between one professional duct cleaning and the next is where the real work happens. Fix the filter rack so the filter is actually doing its job. Read your registers for the debris signature. Keep a photo log so you know whether dust is moving or settling. Inspect the dryer vent every year, because it’s a fire safety inspection more than a cleaning task. Extend the cleaning interval when the house is quiet, shorten it hard when renovation, pets, or an allergy diagnosis is putting more into the system. And when a real repair comes up, treat it as a repair, not as a longer cleaning. The checklist you build is the one that matters; the professional clean on top of it just does the part you can’t reach. Feel free to call us at (844) 967-3384 for a free estimate.
Written by the team at Duct Cleaning Paterson.